I’m working on detailing out a smallish house in Greenfield, MA. We probably won’t go full Passive House on this but we will look at what additional costs and detailing it would take. And if we’re close…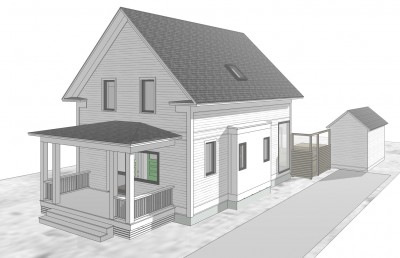 We are doing some novel (to me) stuff for the shell of the house that, I suspect, will become more standard practice for me in years to come.
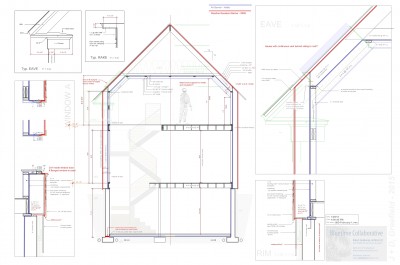
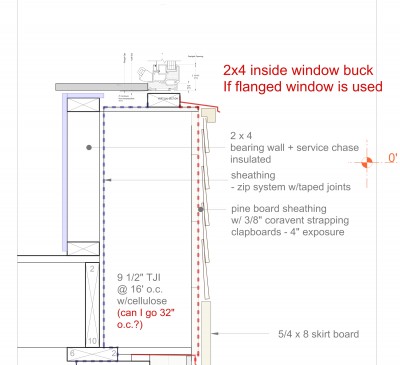
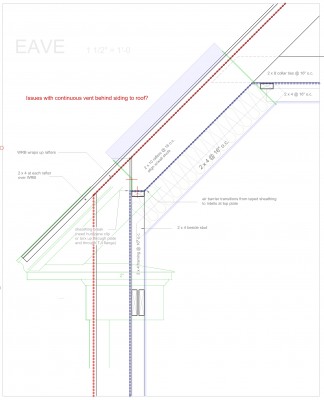
Here are some “progress print” detail drawings from the plan set. My drawings tend to look a bit different than most architect's drawings due to two things: The time I spent wielding a hammer and trying to interpret my own drawings and the fact that I have worked as a sole practitioner for so long and have developed my own graphic style. I should add to that a third thing – my knowledge of building science informed best practices.
The first thing you will notice about these drawings is actually the most important thing. The red and blue dotted lines represent the weather resistant barrier and the air barrier respectively. If your drawings don’t have at least the air barrier called out in the sections, (and continuous around the thermal envelope) The drawings are incomplete. I have been getting picky in my detailing about how to make the air barrier both easy to achieve and durable. In my opinion, relying on painted sheetrock to serve as an air barrier just doesn’t cut it – certainly not for the next 100 years.
Many builders and architects in the Northeast US are still building 2x6 walls with fiberglass batts and a poly vapor barrier. That’s how I learned to do it when I was just starting out in the 90’s. I also opened up a number of walls built that way that were full of mold.
-
Good
builders don’t build this way anymore. Check the Building Science Corporation website for some pictures of what can go wrong.
One part of building science is probability and statistics. I often hear builders say “I’ve always built that way and I’ve never had any problems” - that you know about. But those builders are only looking at 50 or 100 projects. Luck plays a part here. What happens when you look at thousands or even tens of thousands? You start to see some patterns emerge and you start to see the luck factor drop out of the equation. You are able to formulate some best practice standards for a number of things including durability, air quality, energy use and even catastrophic failure. I prefer to work with builders who are informed about building science and involved in the discussion.
That’s easy here in the Southeastern Vermont area home of Building Green area, home of Building Green and SEON which sponsors a well-attended monthly building science discussion group and learning circle. – If anyone wants to get something like this started in their own community, send Guy an email at the address in their website.
I owe it to my clients to help them get the best constructed project possible. That, in addition to the most functional, aesthetically appropriate, finely crafted project possible.
– Oh and the budget thing too –
Detailing such as represented in these drawings is also very much about budget. The goal is to bump up the levels of insulation, air tightness, r value of windows etc. so that we can eliminate the traditional boiler and heat distribution system in favor of a minisplit heat pump which is more of an appliance than a system and dramatically less expensive. (I think this link is a GBA pro only link - subscription) For those without a subscription try this alternative Ideally, it becomes a wash cost wise but with the added bonus of very low monthly heating and cooling costs. Those savings alone can represent hundreds of dollars per month.
