Today's post is about windows. Specifically installing high end windows. Most American architects and builders don't have to read this or worry about this. Nothing to see here... move along. For those of us working on a higher level, however, windows and window installation are hot topics. I have to tailor the construction documents according to the windows chosen. This is a fair amount of work I didn't have to do in the past. The actual installation is now on my plate as something I need to be on site for as the architect. I was on-site last week at the Greenfield project and took some photos. Chad (the builder - Vermont Natural Homes) and I had much fun working out the installation details for the Klearwall windows chosen for this project. Our goal is to simplify the installation details to the greatest extent possible, minimize the possibility of water infiltration and create a system that can easily be monitored over the years for durability. We use tapes and weather barriers from foursevenfive.com to accomplish this. Calk has no place on the exterior of a modern high performance home (that is SO nineties) Our trim detail (subject for a future blog post) is designed so that we could easily remove the casing around the exterior of the window to inspect the taped joints.
We start with a fairly traditional clapboard at the window opening to provide a bit of pitch.
 ys
ys
Then we use Extoseal to provide a sill pan. IF any of you have ever used Bituthene for the is purpose, I feel for you. I really do. But don't ever do it again. There is a better way.

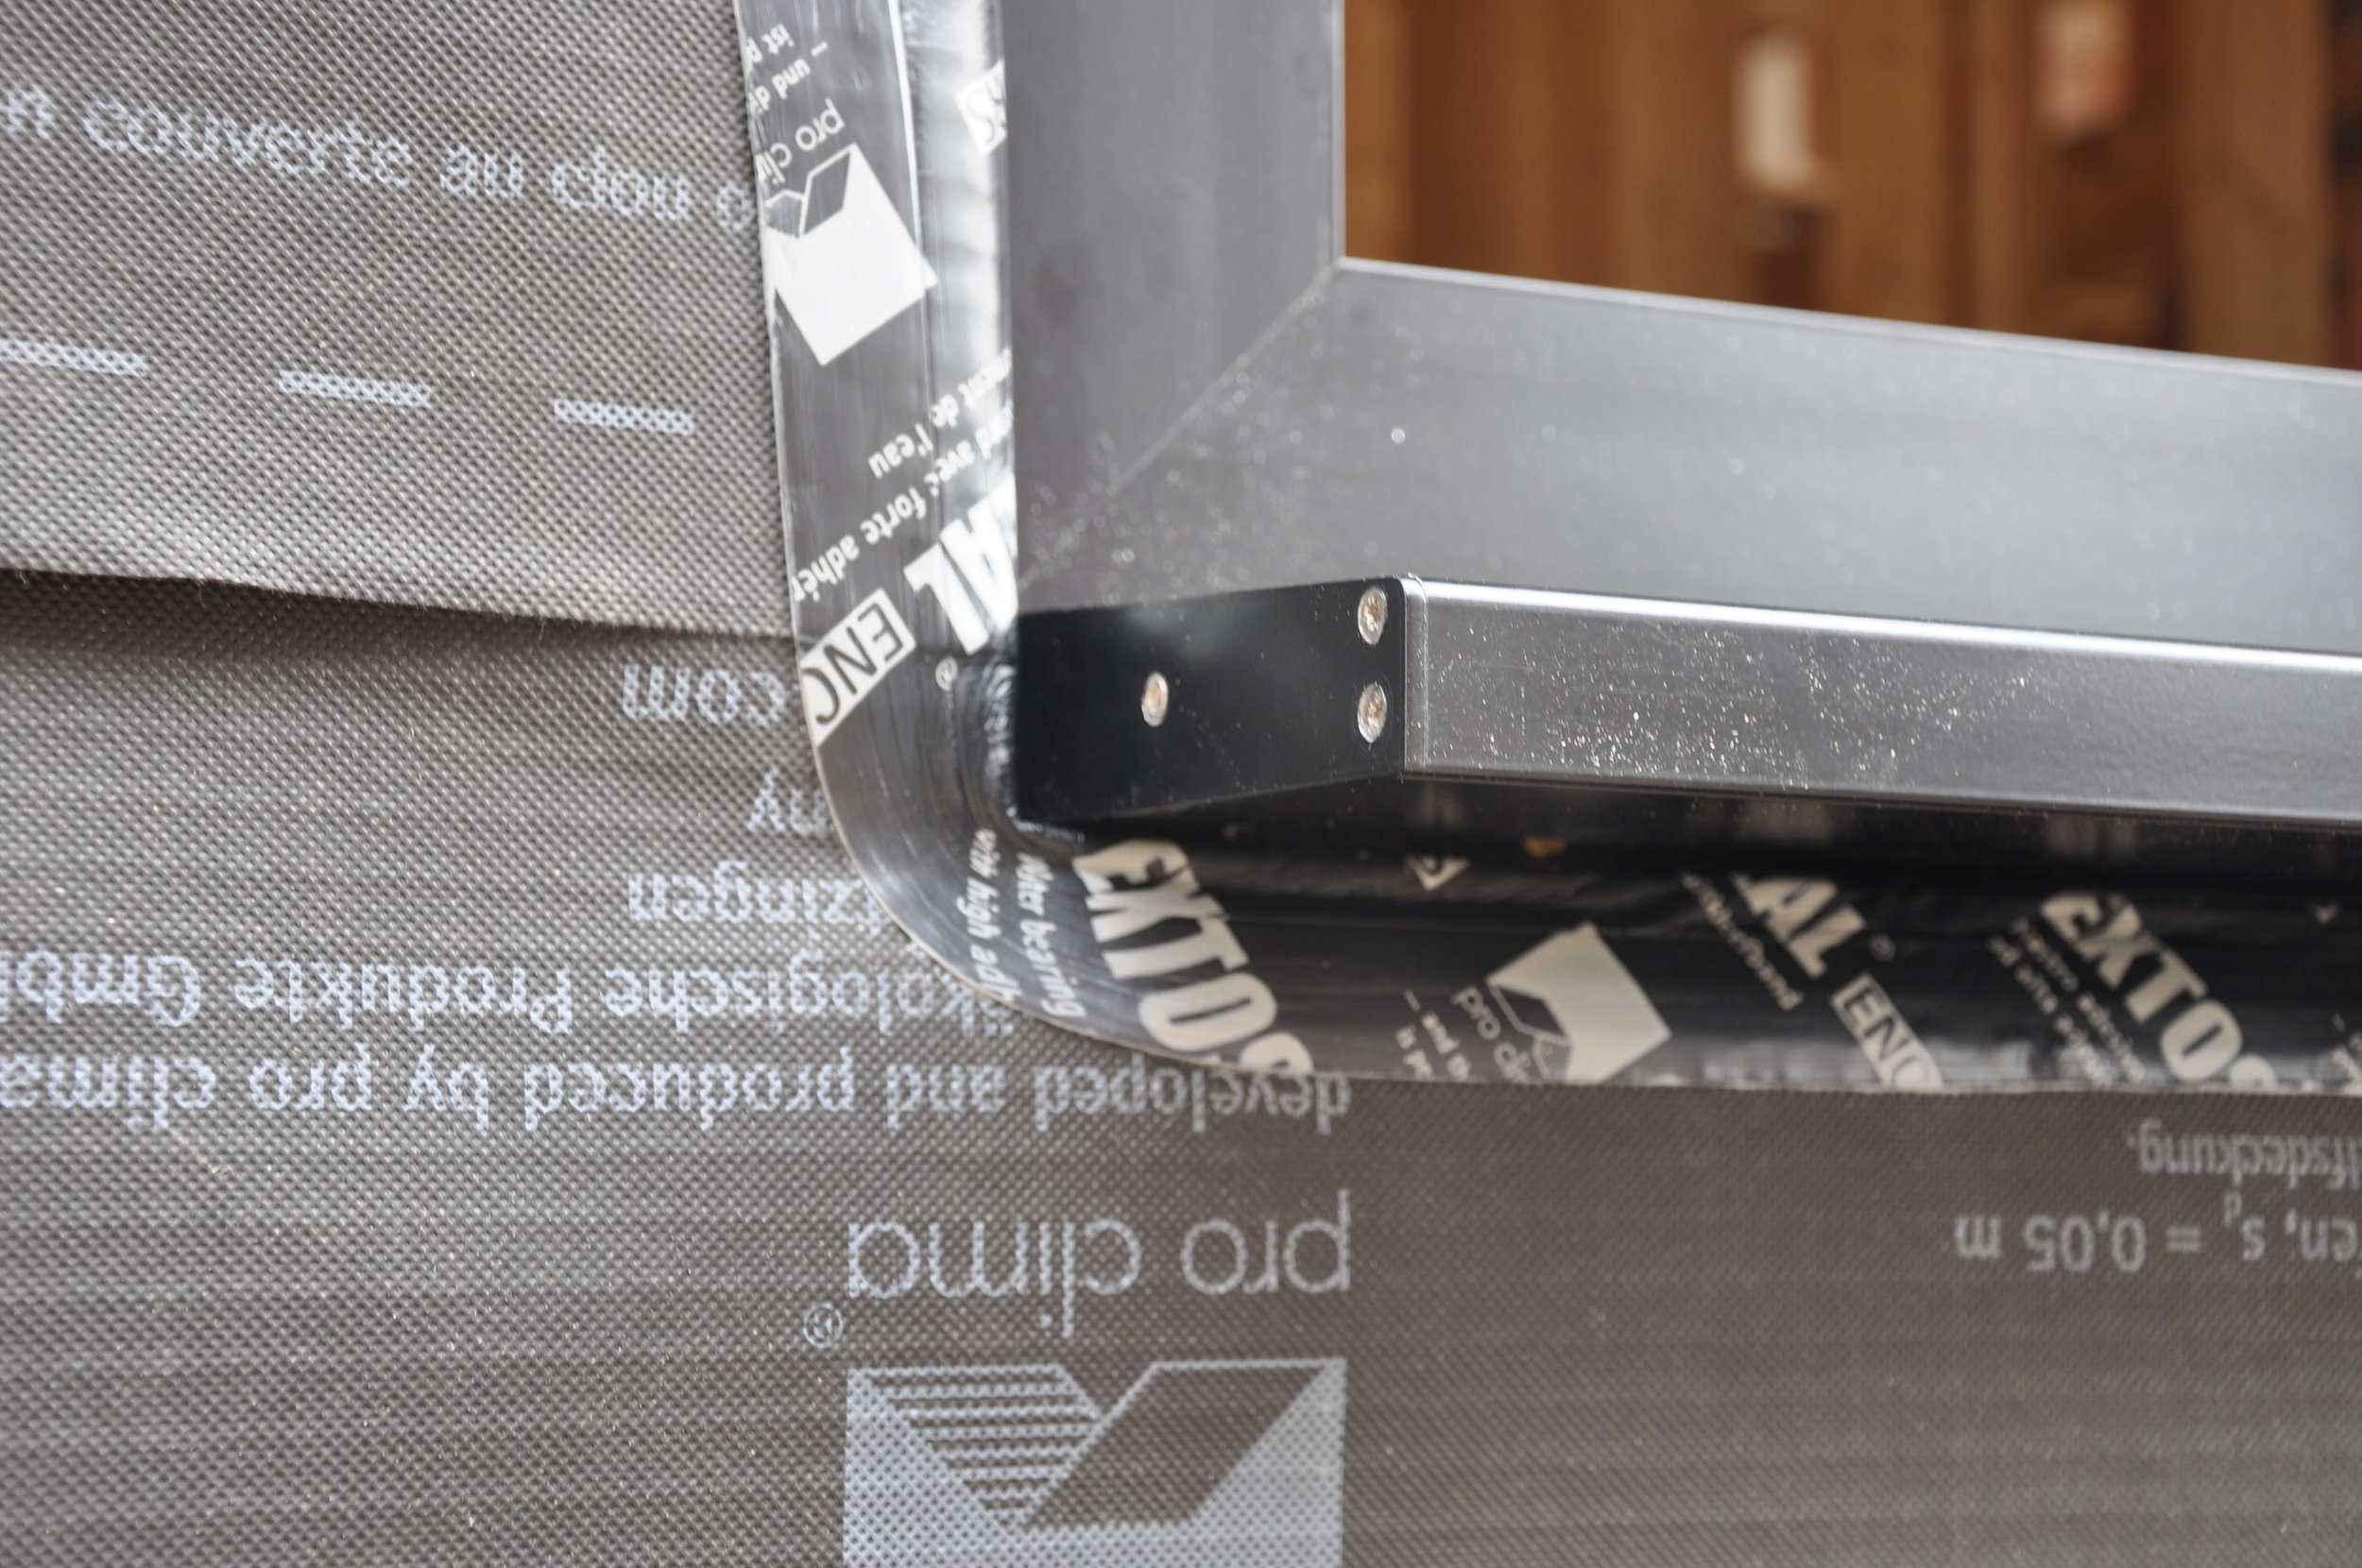
Check how the Extoseal turns the corner. Note also the integrated exterior sill. Different manufacturers handle this in different ways. I think the Klearwall way is less elegant than some.
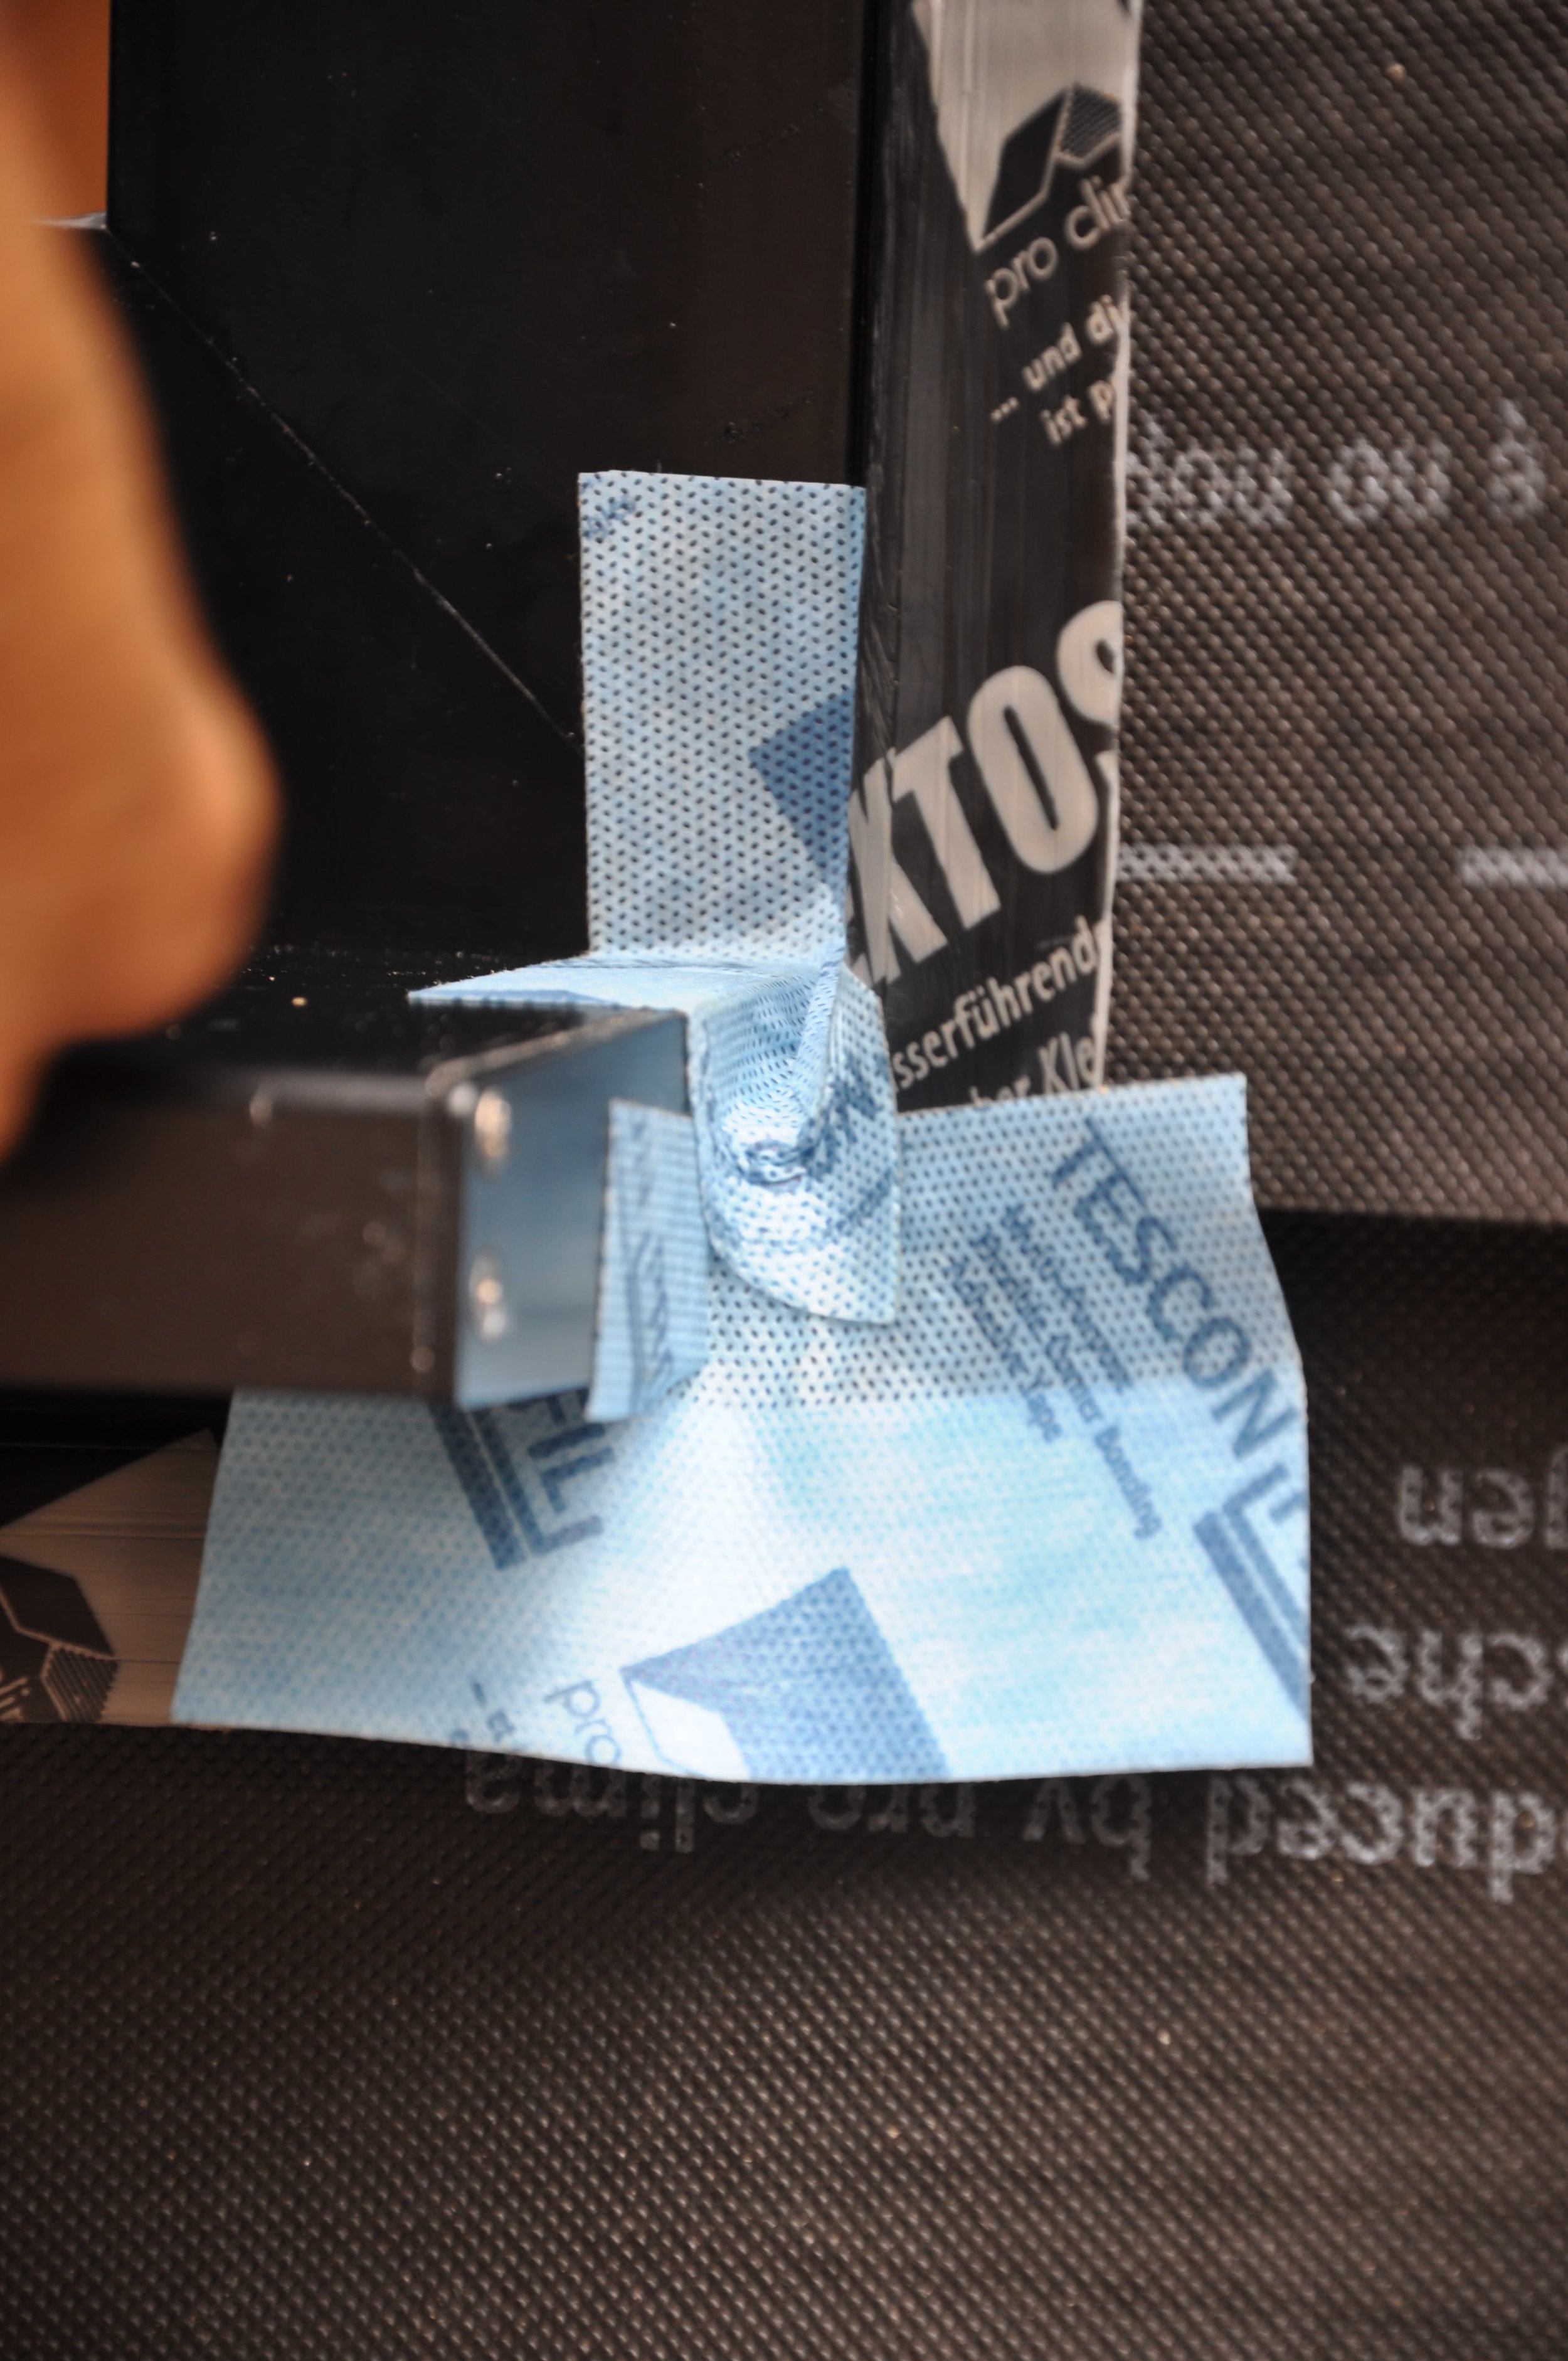
The next trick is to use Tescon Profil to tape over that annoying joint at the junction between the sill and the window frame. after several tries we came up with an excellent and easily teachable/repeatable solution. This all gets hidden with trim so we prioritize "good" over "neat"
The up and around part is relatively easy. We inset the window in the opening to make it so. This allows up to uncouple the head flashing from the window flashing in a simplified manner. The head flashing detail will be covered in a later blog post (along with the trim)

Then, happy with what we had figured out for the windows, we turned our attention to the door. And I wrote all over everything. Because I'm an architect.